
How to Dry Toenail Polish Without Smudging: 7 Methods

Quick Summary
To dry toenail polish without smudging, apply two or three thin coats, wait a few minutes between each, and use cool air from a fan on a low setting. Keep your feet still until the polish is fully set, which often takes one to two hours.
- Use two or three thin coats instead of one thick coat.
- Run a fan on a cool setting for 5 to 10 minutes after the top coat.
- Dry-to-touch does not mean fully cured, so lower layers may still be soft.
- Test for a fully set polish with a clean fingertip or cloth, not a fingernail.
- Paint your nails early in the evening and wear soft socks to bed.
Table of Contents
- How to Dry Toenail Polish Without Smudging: 7 Methods
- Why Toenail Polish Smudges and How to Prevent It
- Prep Your Toenails for Polish That Dries Cleanly
- How to Apply Nail Polish Without Smudging
- Step-by-Step Methods to Dry Toenail Polish Without Smudging
- How to Dry Nail Polish Fast Without UV Light
- Dry-to-Touch vs. Fully Cured Polish and Realistic Drying Times
- How to Prevent Toenail Polish From Smudging in Bed
- Socks to Wear After Applying Toenail Polish
- Frequently Asked Questions
How to Dry Toenail Polish Without Smudging: 7 Methods
Last Updated: November 14, 2026
Why Toenail Polish Smudges and How to Prevent It
Smudged toenail polish usually comes from touching the nail before it has set. Original Pedi-Sox® makes toe-less socks for pedicures and foot care, and knowing why smudges happen helps you avoid them. Which socks to wear after polish is covered in detail here.
Most smudges happen for three reasons: coats that are too thick, not enough drying time between layers, and bumping the foot against something too soon. Thick polish stays soft underneath even when the surface feels dry.
- Thick coats take longer to set from the inside out
- Rushing to the next coat can drag the wet layer
- Sock fabric or bedding can press into polish that looks dry
Many people find that a few simple habits stop most smudges before they start.
Prep Your Toenails for Polish That Dries Cleanly
Clean, dry nails give polish the best base. Oil, lotion or dust on the nail can keep polish from bonding and slow how fast it sets. A practical guide to softening cream for pedicure treatments can help prepare skin and cuticles first.
Before you paint:
- Remove any old polish with a remover that suits your nails
- Wash your feet and dry them fully, especially between the toes
- Push back cuticles gently and trim any rough edges
- Wipe each nail with a lint-free pad to remove oils
How to Apply Nail Polish Without Smudging
The way you apply polish affects how long it takes to dry. Thin coats set faster and resist dents better than heavy ones.
Try this approach:
- Use two or three thin coats instead of one thick coat
- Wait a few minutes between coats so each layer can set
- Paint the nail in three strokes: center, then each side
- Keep the brush clean and avoid overloading it with polish
A common mistake is painting too close to the skin. Leave a small gap at the cuticle so the polish does not bleed and pull on the nail as it dries.
Step-by-Step Methods to Dry Toenail Polish Without Smudging
Drying works best when you combine a few methods and keep your feet still while you try any of them. Each method below acts on a different part of the problem: solvent leaving the polish, the top layer hardening, or the lower layers setting. None of them replaces thin coats and adequate time between layers.
Cool Air and Fan Drying
Cool air moves solvent away from the polish surface without adding heat. Point a fan at your feet on a low or cool setting for several minutes after your final coat.
- Use a cool setting, not hot air
- Keep the fan a comfortable distance from your toes
- Stay still while the polish sets
A common pattern is to run the fan for 5 to 10 minutes after the top coat, then leave the feet undisturbed for another 15 to 20 minutes before walking. The fan helps the surface, but the lower layers still need time.
Watch out: hot air from a hair dryer can soften the polish and push dust into the wet surface, so keep any airflow cool and gentle.
Cold Water Dip Method
A short dip in cold water can help the top layer harden faster. Wait until the polish feels dry to the touch, then lower your feet into cold water for a few minutes. Dry your feet gently with a towel afterward.
Do not dip wet polish. Water can leave marks or cause the polish to wrinkle. A common pattern is a 2- to 3-minute dip once the surface no longer sticks to a light tap, followed by blotting, not rubbing, with a soft towel.
Watch out: prolonged soaking softens polish over time, so keep the dip short and avoid repeated dips.
Quick-Dry Top Coats
A quick-dry top coat is the most reliable speed-up most people have on hand. Apply it as the final layer over color that has already set for a few minutes. It hardens the surface and adds a protective film that resists light bumps. That protective film can also help color stay intact between polish changes, while Indulgence Salon shares more ways to keep nail polish from chipping.
- Apply a thin layer, not a heavy one
- Let the color coat set for a few minutes first
- Keep the brush clean so the top coat does not drag color
Drying Drops and Sprays
- Drops are usually applied one or two per nail after the top coat
- Sprays are misted over the nails from a short distance
- Neither replaces thin coats or time between layers
What These Methods Cannot Do
No method dries polish through every layer at once. Heat, forceful airflow, and long cold-water soaks can harden the surface while the lower layers stay soft, which is how dents appear hours later. Treat any method as a way to speed the surface, not a way to skip the curing time described below.
The article describes several drying methods, each with its own practical habit or timing.
| Method | Typical timing | Key tip |
|---|---|---|
| Cool air and fan drying | 5 to 10 minutes after top coat | Use cool setting, not hot air |
| Cold water dip | 2 to 3 minutes once dry to touch | Blot gently, do not rub |
| Quick-dry top coat | Apply over color set a few minutes | Apply a thin layer |
| Drying drops or sprays | One or two per nail after top coat | Do not replace thin coats |
| Hair dryer heat | Not recommended | Can soften polish and trap dust |
How to Dry Nail Polish Fast Without UV Light
- Quick-dry top coats can help polish set on the surface
- Drying drops or sprays may help the polish harden faster
- Thin coats and cool air still do most of the work
Check the product label before you use any drying spray on your feet, and test it on a small area first if your skin is sensitive.
Dry-to-Touch vs. Fully Cured Polish and Realistic Drying Times
Dry-to-touch means the surface no longer sticks to a light tap. Fully cured polish means the layers underneath have hardened too. Your toenails can feel dry long before they are fully set, and that gap is where most smudges and dents happen.
A Realistic Drying-Time Guide by Layer
Times vary with formula and coat thickness, but these ranges are a practical starting point for standard polish:
- Base coat: 2 to 5 minutes before the first color coat
- Each color coat: 5 to 10 minutes before the next coat
- Top coat: 10 to 15 minutes before you move around
- Full cure: often 1 to 2 hours before socks, shoes, or bedding
Quick-dry formulas and quick-dry top coats can shorten these ranges, while thick, glitter, or multiple coats push them longer. Treat the ranges as a guide, not a guarantee.
How to Test Whether Polish Is Cured
A light tap tells you about the surface only. To check the lower layers, press gently with a clean fingertip or a soft cloth and look for a dent or a tacky feel. If either appears, the polish is still soft underneath and needs more time.
Watch out: testing with a fingernail can leave a permanent mark, so press with a fingertip or cloth instead.
Troubleshooting a Smudge or Dent
A fresh smudge and a deeper dent need different fixes:
- Fresh smudge on the surface: let it set for a few minutes, then smooth it with a thin layer of top coat. Do not press the smudge with a finger.
- Shallow dent: add a thin coat of color over the dent, let it set, then seal with top coat.
- Deep dent or lifted polish: remove the polish from that nail, clean the surface, and repaint in thin coats. Painting over a deep dent traps soft polish underneath.
A common pattern is to keep a small bottle of top coat and a lint-free pad nearby so a smudge can be fixed before it sets hard.
Toenail-Specific Timing Notes
Toenails are harder to keep still than fingernails. Toe separators keep the nails from touching each other while they set, and loose socks or toe-less pedicure socks protect the polish without pressing on the nail. Plan polish sessions for a time when you can keep your feet off the floor and out of shoes for at least an hour after the top coat.
How to Prevent Toenail Polish From Smudging in Bed
Bedtime is a common time for smudges. Give your polish enough time before you lie down, and protect it while you sleep. See which socks stay put during sleep or a pedicure without shifting.
- Paint your nails early in the evening
- Wear a pair of soft socks that will not press on the polish
- Keep your feet off the sheets until the polish feels fully set
- Check your nails in the morning and touch up any dents
Socks to Wear After Applying Toenail Polish
Socks can keep dust and fabric off fresh polish while your feet stay warm. The right socks should hold still and leave your toes free.
Original Pedi-Sox® makes toe-less socks made for pedicures and foot care. Original Pedi-Sox® - SPA Lite is priced at $8.00, and the Original Pedi-Sox® - SPA SILVER LABEL is priced at $12.75.
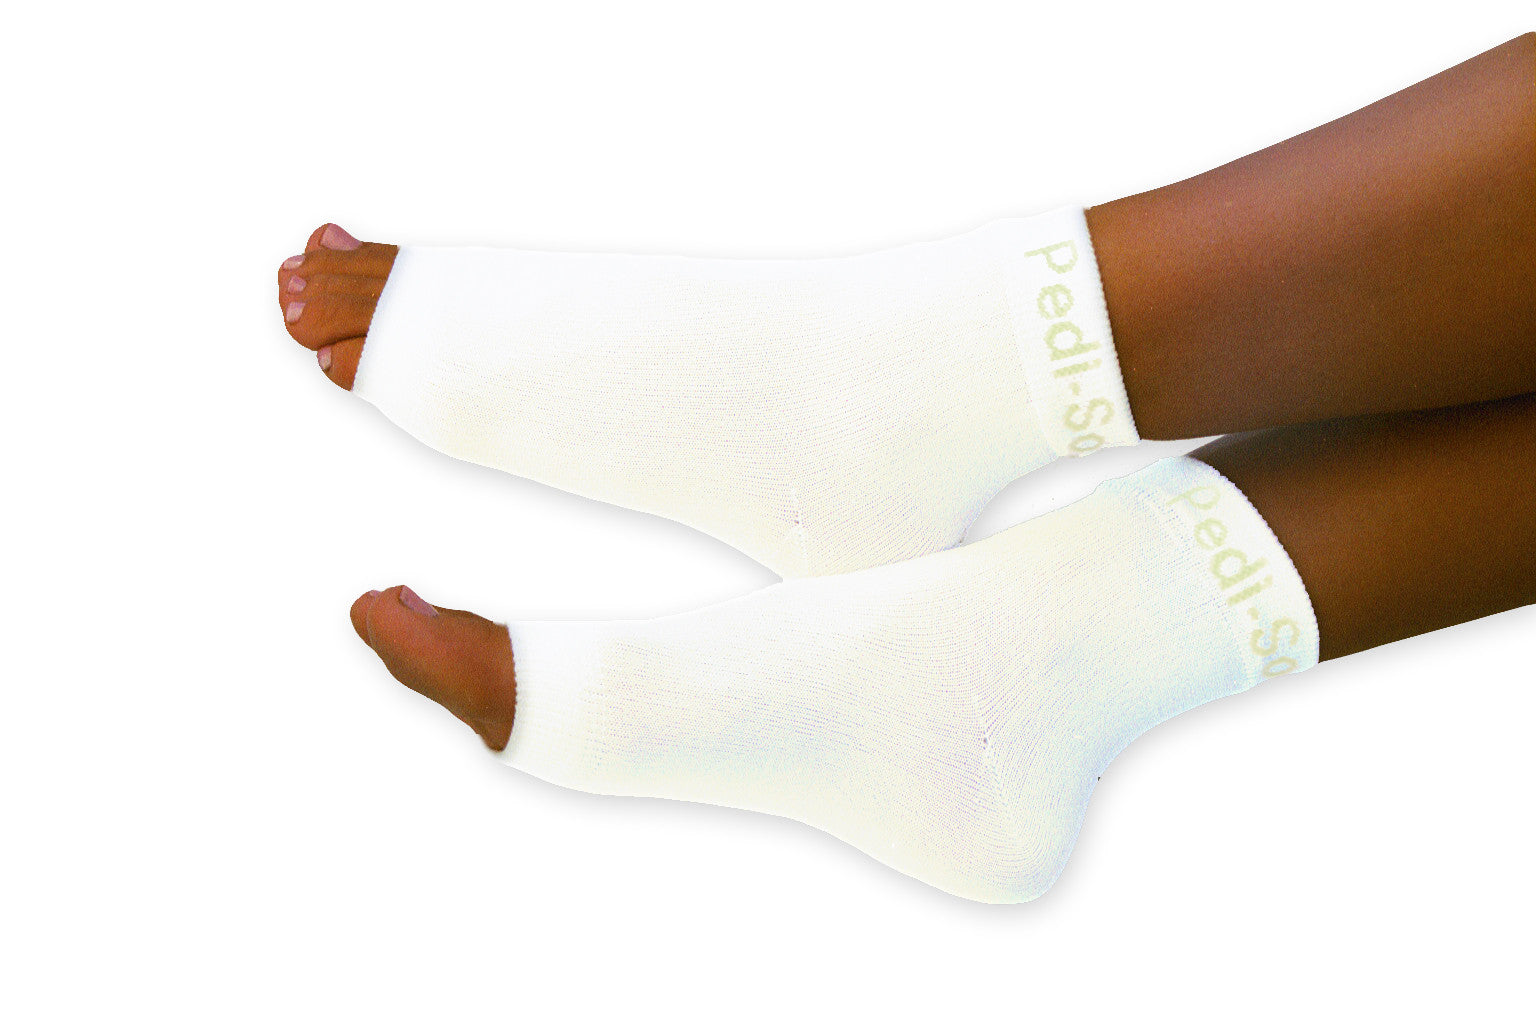
The Original Pedi-Sox® - Professional - SPA White is priced at $10.75.
Frequently Asked Questions
What is the fastest way to dry regular nail polish?
The fastest reliable approach is thin coats plus a short burst of cool air. Apply two or three thin coats instead of one thick one, wait a few minutes between coats, then aim a cool setting from a hair dryer or a fan at your toes for about a minute. Quick-dry drops or a quick-dry top coat can shave more time off, but thin layers do most of the work. Avoid hot air, which can wrinkle the surface and trap solvents underneath.
Why does toenail polish smudge even when it feels dry?
Polish can feel dry to the touch while the layers underneath are still soft. Touch-dry only means the top surface has set; the film below has not finished evaporating its solvents. Thick coats take the longest to cure all the way through, so they are the most likely to dent or smudge when pressed by a sock, a towel or a bedsheet. Thin coats and patience are the most dependable fixes.
How long should I wait before putting on socks after painting my toenails?
Plan on at least 20 to 30 minutes of hands-off drying for a thin, well-applied coat, and longer after a thick one or after a top coat. Surface dryness can arrive sooner, but full firmness takes longer.
What should I do if I smudge toenail polish after it dries?
If the mark is shallow, let the polish fully cure for several hours, then gently buff the dent with a fine buffer and reapply a thin coat of color, followed by top coat. For deeper dents or scratches, remove the polish with remover and start over with thin layers. Do not try to dissolve a fresh smudge with more polish, because that usually spreads the damage.

- Editorial Team


Comments 0